Monday, October 25, 2021

Two South Indian delights

 Kara Kuzhambu and Pitlai:


Both dishes are all round favorites in south India.

The Kara Kuzhambu recipe is from my friend Akila whose cooking I truly admire.


The pitlai recipe is from my mother and mil whose recipes are similar.


Kara kuzhambhu:


Tempering 

1. Sesame oil - 2-3 spoon

2. Mustard, urad dhal

3. Fenugreek seed

Sauté the above and until they splutter and fenugreek seeds golden brown.

Add below ingredients one by one and fry them.

4. Curry leaves.

5. Garlic pods (3-4) , cut into big cubes pieces 

6. Onion

7. Mixture of veggies ( I normally use 2-3 of any of the following vegetable combination such as tindora, avaraikai, eggplant, drumstick  )

8.  Fry until they are half cooked

9. Add 1 tomato and fry until it turn mushy.

10. Add below powders one by one: 

11.  Chiili powder - 1 tsp

12. Coriander powder - 2 tsp ( you can substitute with sambhar powder)

13. Veggies should be cooked 3/4th

14. Add tamarind extract water ( goose berry size tamarind soaked in water )

15. Boil until the raw smell disappears.

16. Grind the following mixture and add it to the kuzambu.

17. Fresh coconut - 1/4 cup, 1/4 tsp fennel seeds, 1/4 tsp cumin seeds, 10 pepper corns with sufficient amount of water.

18. Pour desired ant of water and cook it in sum until the oil oozes out.


-/——————/

Pitlai:

Ingredients:

Pavakai- 2 or three cut into small pieces and sauté a little.

Wash in salt water if it is dark green could be very bitter

Other Vegs like eggplant, or sometimes 1 tomato along with pavakai 

Other times I will make with eggplant alone

Also sometimes I will add cooked kondakadalai one karandi


For grinding:

Roast in little oil- one or two big tablespoons chana dal, 

One teaspoon jeera,

One or two tablespoon Urdu dal 

Grated coconut up to 1/4 moodi or more if you like

Red chilies per preference 

Black pepper at least 2 tsp as preferred crushed

Tamarind squeezed small lemon size 

Toor dal cooked 

Little coconut oil

Curry leaves 

Hing 

Little jaggery salt as you like


Method

Sauté the vegetables 

Boil tamarind water with turmeric salt add sautéed vegetables 

Let boil add ground paste add jaggery add hing

Add cooked parupu

Add more black pepper 

Do thaalichu in coconut oil if you like it other oil of mustard seeds curry leaves 

Diwali Lehyam

 Fresh ginger 1 small cup about 6 oz cut fine and grind to paste


Jaggery equal or little more quantity than ginger crush it 


Dry ginger 1/2 tsp


Coriander powder 1 tsp

Cumin powder 1 tsp 

Carom seeds or ajwain small tsp 


Ghee 2 or 3 tspp


Boil jaggery to 1 string consistency add the ground ginger and little ghee and let cook toward the end all the other powders 


Mix well till it forms a nice ball consistency.


Store in cool place 

Tuesday, November 6, 2018

THENGUZHAL RECIPE:

Rice flour - 3 cups
Pottukadala maavu  flour - 1 cup
Then, yellow moong dal flour -1/2 cup
or urud dal flour - 14 cup

Roast lightly before grinding to dry flour

Butter - 2 to 3 tbsp. or 1/2 stick
1tsp salt or as to taste
Hing, white sesame seeds
Red chilli powder - as needed
Also add some boiled hot oil - 2 tsp while kneading
Make into chappathi dough consistency

Then use star mould and spread in hot oil

Let cook till golden.

KARAMANI ADAI / BLACK EYED PEAS PANCAKE

KARAMANI ADAI
--------------------------

Ingredients:
karamani - 1/2 to 1  cup
red rice - 1.5 cups
black n white urud dal - 1/2 cup

soak over night then grind with red chillies into adai batter.
Super Bowl Fun!!

Menu:
Seven layer dip, seven layer dessert bar, Barbecue Tofu Pineapple pizza

Magic cookie or seven layer bar(makes 16 bars)

Ingredients:

  • 2 cups oats and arrowroot biscuits(crushed to coarse powder
  • 1/2 can (14 oz) condensed milk

1.5 cups shredded coconut

1.5 cups chocolate chips

1.5 cups nuts

1 cup dried fruits like raisins


Directions
  1. Heat oven to 350 degrees F (325 degrees for glass dish). Coat 13x9-inch baking pan with no-stick cooking spray.
  2. Combine graham cracker crumbs and butter. Press into bottom of prepared pan. Pour sweetened condensed milk evenly over crumb mixture. Layer evenly with chocolate chips, coconut and nuts. Press down firmly with a fork.
  3. Bake 25 minutes or until lightly browned. Cool. Cut into bars or diamonds. Store covered at room temperature.


Thursday, December 17, 2015

SENAI KARAMANI THEEYAL (yam and black eyed peas curry)


Senai Karamani Theeyal:

A very earthy simple recipe. This would serve as a great side to rice or dosa / idlis. Based in Kerala, this is a wonderful, traditional dish.

Ingredients:
-------------
Shallots - couple handfuls
Black eyed peas - one cup to be pressure cooked or cooked till soft
Senai or cut yam pieces - 3 to 4 tbsp
Grated coconut - half cup
Cumin seeds - 1 tsp
Red chillies(dry) - 6 to 7 or according to taste
Fenugreek powder - 1/2 tsp
Tamarind juice - 2 cups
Turmeric - pinch,
salt - according to taste
Curry leaves, mustard seeds(1 tsp), cooking oil - to season

Step 1. Fry the grated coconut using little oil in an even heat till it`s colour turns golden brown. Reduce the flame.
Step 2. Add red chillies, cumin seeds, and fenugreek powder. Stir for 1 minute till the raw smell of the powders goes.
Step 3. Grind it to a fine paste and keep aside.
Step 4. Wash the vegetables. Saute the onions, and curry leaves in oil. Grind half of shallots to fine paste.
Step 5. Add the vegetables to it along with 1 cup water, salt and turmeric powder. Cook till all the vegetables becomes tender.
Step 6. Add the tamarind juice and leave it to boil.
Step 7. Next, add the coconut paste and stir it well. Then add shallot paste. It should neither be too watery nor too thick. Allow it to boil. Also, add cooked karamani(black eyed peas).
Step 8. When you get the desired consistency, remove from flame.
Step 9. Season with mustard seeds, dry red chillies and few curry leaves.
Step 10. Fry the mustard seeds and chillies in 1 tbp of oil and pour it over the curry.


Sunday, June 8, 2014

SPROUTS FOR TASTE AND HEALTH!!

A post after a long hiatus! If you can call a two year break - a hiatus.

Without further ado, here is sprouts pulao:

Recipe:

Ingredients:-
ngredients:
1/2 cup moong
1 and 1/2 cups basmati rice
1/2 cup onion
1/2 cup tomato
2-3 sprigs coriander leaves / mint leaves or a combination of both
1 tea spn biryani masala
1 tea spn ginger paste
1 tea spn garlic paste
1 tea spn cumin seeds
2 cardamoms
2 bay leaves
A pinch turmeric
1 tea spn red chilli powder
2 cloves
1″ cinnamon
Salt
Method:
Sprout the moong a day or two ahead.
In order to sprout the moong, first it has to be sorted to remove stones, washed, and then soaked in water for 6-8 hours. Wash the moong again and drain the water. Subsequently, cover the soaked moong in a bowl with a moist cloth on top for 10-12 hours (depending on the climate) or till you see the sprouts coming out of the muslin cloth. You may sprinkle water frequently if the cloth becomes dry. When the bean sprouts have developed short shoots, they are ready to eat. 
For sprouted moong pulao:
Heat oil and add cumin seeds, cloves, cinnamon, bay leaves, cardamom. Add onion, ginger, garlic and fry till onions turn translucent. Add tomatoes, cut potatoes(optional) salt and cook for a few minutes.
Add rice and fry for few minutes, add turmeric, biryani masala, chilli powder and fry again.
Now add the sprouted moong, 3 cups water, coriander leaves, mix gently, cover and cook on medium flame till done. This could take anywhere from 25 - 30 mins.
Serves : 3-4
Preparation time : 45mins

Friday, July 22, 2011

A Post...FINALLY!!!!

After a  long, long hiatus...here is finally a post!!!! From one of my many drafts...which I have not been able to convert into posts in recent times...what to do...when life overruns all good intentions that one has... to record one's culinary masterpieces for posterity (read: if the kids ever decide to follow in my footsteps of culinary obsession).


So, without any further ado...here is my recipe for Beet Bread..adapted from two or three of my books on baking bread.


RECIPE FOR BEET BREAD:


Prep Time - Overnight plus some hour and a half


Ingredients:
1/2 tbsp active dry yeast + 1 tsp sugar in 1/4 cup lightly warm water until bubbly
2 cups whole wheat / AP flour plus some more to get a non-sticky dough
2 tbsp yogurt
1/2 cup milk
2 tbsp sugar
1 tsp salt
1/2 cup beet puree(I roasted beets for 30 minutes in 300F then pureed it)
2 tsp oil
Optional: couple drops of rose water(if you like the fragrance)


Directions:
Mix in the salt, sugar and flour in a large bowl.
Make a well, pour the yeast mixture, milk, yogurt and beet puree
in the well and stir in the flour to make a non-sticky dough. 
Once the ingredients are bound into a smooth dough with some kneading, 
use 1 tsp oil (and optional ingredient: rosewater - 2 drops)to further smoothen the dough. 
In a well-oiled bowl, place the smooth ball of pink dough. 
Make deep cross cuts on the top with a sharp knife for easy rising. 
Cover and keep overnight or for some 2 hours until the dough has 
risen to over double the volume. 
In cooler spaces, it would be better to keep this on your counter overnight 
for a perfect rise.
After the dough has risen well, remove it onto a lightly floured counter. 
Punch out all the air by kneading for a few minutes. 
The dough will be very flexible and not stick to your hands at all. 
 Let this prove for atleast an hour covered with cling film during which 
it will again double up in volume.
In a 350F preheated oven, place the shaped dough into a loaf pan and bake for 15 - 20 minutes.

Friday, June 11, 2010

Guest Posts Galore...Another lovely guest post from yet another wonderful blog!

Another awesome blogger, who has been gracious enough to feed my  in my absence...she has an amazing array of recipes on her space!! Here is a great recipe(one that I have never tried before) So, here is Nithu from Nithu's Kitchen.
*******************
First of all, let me thank Meena for giving me this wonderful opportunity. This is my first guest post and I'm happy and excited about this. Today, I'm going to share one authentic dish "Idiyappam and Coconut Milk Kurma/Vellai Kurma". Idiyappam is my favourite food right from my childhood. My Mom used to make many varieties of Idiyappam. My most favourite is Idiyappam with kurma. I have already shared the Idiyappam preparation in my blog. You can see the method here. Now, for Coconut milk Kurma,


You Need :
1. Mixed cut Vegetable - 1/2 Cup
2. Coconut Milk - 1.5 Cups (unsweetened)
3. Onion - 1/4 Cup (Chopped)
4. Green Chilly - 3 or adjust to you taste
5. Bay Leaf - 1
6. Cinnamon stick - 1
7. Saunf - 1/2 tsp
8. Garam Masala - 1 tsp (Optional)
9. Oil - 1/2 tbs
10. Lemon Juice - 1 tsp
11. Salt - Needed qty

Procedure :
1. Take oil in a pan. Add bay leaf, cinnamon and saunf.Fry for a minute.
2. Now, add the onion and green chillies. Fry well. Then add the other cut vegetables.
3. Simmer the stove.
4. Add garam masala to the vegetables. Saute for few minutes.(Optional)
5. Take 1/2 Cup of coconut milk. Add 1 Cup of water.
6. Add this to the vegetables. Add salt and allow the contents to cook.
7. After 5 minutes, dilute another 1/2 cup of coconut milk with 1/2 cup of water and add it to the contents in the pan.
8. Allow it to boil well till the vegetables get completely cooked.
9. Switch off the stove. Take out the pan from the stove and then add remaining 1/2 cup of coconut milk and lemon juice.
10. Mix well.
11. Serve hot with Idiyappam.
Note : Try to use fresh coconut milk as far as possible.
Serves : 2

Hope you all like this kurma.
Thanks Meena once again...

Thursday, May 27, 2010

GUEST POST SEASON IS HERE!!!

I am very very thrilled to announce that it is Guest Post Season on this space...my kind blogger friends have graciously come to my rescue...not only to feed my starving blog when I'm busy, sleep-deprived and knee-deep in volumes of finance...I doubly appreciate this wonderful gesture from my friends because they have chosen to come to my rescue in the midst of their own crazy, busy lives...Hats off to them!

Here is a lovely guest post from a blogger, who needs no introduction at all...I cannot say that she specialises in any one type of cuisine:))...because she is so wonderful with presenting foods from just about any kind of cuisine!!! It is Priya of Priya's Easy n Tasty Recipes...Enjoy!!!


Recipe for Mushroom Manchurian:
25nos Button mushrooms (small)
1/2cup Rice flour
1/2tsp Baking powder
1/2cup Cornflour
1tsp Garlic paste
1tsp Ginger paste
1tbsp Green chili paste
2-3 Spring onions(chopped finely)
1no Onion(diced)
2nos Capsicum (cut into small square pieces)
2nos Garlic(chopped)
2tsp Soya sauce(dark)
2tbsp Tomato sauce
1tsp Rice Vinegar
1tbsp Cornflour dissolved in water
Salt to taste
Oil for deep frying the mushrooms
Oil for sauce

Method:
In a large bowl, combine rice flour, cornflour, baking powder, salt, soy sauce, garlic-ginger paste and green chili paste. Mix well with water to get a batter of medium consistency.

Heat oil in a pan, dip the mushrooms in the batter and deep fry in oil. Drain the excess oil and set aside.

In a flat pan, add some oil and when it smokes add the chopped onions and capsicum and fry till they start becoming translucent.

Now add the chopped garlic,salt, pepper powder and fry for a minute . Add the soy sauce and vinegar and stir for a minute. Reduce the heat and then add the cornflour-water. The mixture will start to thicken, keep on stirring on low heat and when the mixture turns semi thick add the tomato sauce and then add fried mushrooms. Stir continuously for a couple of minute when it becomes soft, take it out from fire.

Garnish with chopped spring onions. Serve hot with noodle or fried rice or as appetizer.

Monday, May 17, 2010

MANGO MADNESS, AN ANNOUNCEMENT AND MORRRRE AWARDS!!!

So I am back with an announcement, which is, that I need the help of my fellow bloggers!! I will not be able to feed my blog with regular posts for the next month or so...(courtesy...a financial analysis exam that is approaching at breakneck speed and I will find it difficult to find time to devote to my beloved blog) That is where, I hope my fellow bloggers will step in to save my blog for the next month...I would like to request my friendly neighborhood bloggers to help me feed my blog with their valuable guest - posts...so I will be approaching you all with requests for precious inputs in the form of guest-blog posts while I am away with my nose buried between huge volumes on finance!

Now that announcement is done, here is another recipe for a delicious dessert bar, sweetened by the use of delectable mango pulp...I have been scouring the web looking for good recipes for this kind of Kalakhand...I saw some good recipes for quick-prep kalakhand on vahrevah.com and even on some wonderful food blogs I regularly  read like Priya's Easy n Tasty Recipes...I tweaked these recipes according to my liking, used evaporated milk and almond meal in place of ricotta cheese and added some mango pulp and I am posting that recipe below. The most wonderful part of this recipe is that, it is ready in  about 10 minutes including prep-time...Yay!!! Truly wonderful (and light???) dessert!!
Recipe for Quick N Easy Mango Dessert Bar(Mango kalakhand)
Prep/cook time: 10 minutes
Servings: 15 to 18 pieces according to size of bar
Ingredients:
1 cup mango pulp
1 cup evaporated milk(low-fat)
1 cup non-fat milk powder
1/2 cup almond meal(almonds ground into cornmeal consistency)
few saffron strands
1 tsp cardamom powder
few slices of pistachio/almonds for garnish

Method:
Spray a microwaveable wide dish with cooking spray(to prevent the mixture from sticking) and add all the ingredients one-by-one to the dish(except for nuts which are for final garnish)...mix well till combined. The mixture should be semi-solid, if it seems to liquidy(if that is a word!), you can either add more almond flour or milk powder.

Microwave on medium-high or high power for 2 minutes initially and then take out of the microwave and stir...place the dish back in the microwave and microwave for 2 minute intervals...it took a total of 8 to 10 minutes in my microwave.

When the mixture starts to firm up and becomes puffy towards the center of the bowl...add the nuts for garnish and set aside till the dessert looks firm enough to cut into pieces and serve(takes a few minutes at room temperature)
Serve warm or chilled or at room temperature...by itself or with a little vanilla icecream on the side...heavenly!!!

I would like to leave you with some more Awards that I recently received from my fantastic blogger friends...Thanks, Nithu for the Tag Award! Thanks, Cool Lassie for the Honest Scrap Award!!! Thanks to the wonderful team from Yummy-O-Yummy, Nayna of Simply.Food, Jyoti of PanchPakwan for the Sunshine Award!
I would like to offer these awards to all my blogger friends...please feel free to accept these awards!
                                                     

Also, here are pictures of five of my favorite posts...which I am posting as per the rules of the awards I received previously!


Monday, May 10, 2010

HAPPY MOTHER"S DAY + CHERIBUNDI

On this special occasion of Mother's Day, here is another sweeeet recipe for all the Wonderful Moms out there!!! HAPPY MOTHER'S DAY TO ALL MY READERS!!!

So, here is the sweet recipe I was talking about...Chocolate Cake!!!!
What, ANOTHER CHOC CAKE RECIPE??? Like there arent enough of those floating around already??!!! Well, before you yawn, here is the reason for my addition to the choc cake recipe world...first of all, I was very happy to receive this pack of Wonderful Cherry Juice from the folks over at Cheribundi!!! Thanks, Samantha!!!

Next, while trying out this unique cherry juice variety, I wanted to use it in one of my recipes, but not in a smoothie or shake or parfait....I wanted to put it to a different use altogether...now, recently, I have been reading quite a few recipes for cakes sweetened and  lightened up by using fruit juice as an ingredient. That way, the liquid ingredients become lighter in calories (as long as you dont use artificially sweetened juices) and also, the cakes end up becoming quite moist and are naturally sweeter, without the need for too much added sugar...how is that for multiple benefits??

Going onto Cheribundi...its a funny name but a very unique juice!!! According to the Cheribundi website:

"cheribundi™ starts as Montmorency cherries grown in Michigan and New York orchards. They use a proprietary juicing process that was developed with Cornell University to make a drink that retains all the power and benefits of the nutrients and antioxidants found in the little round fruits. cheribundi™ has more disease-fighting antioxidants than other juices and has been tested in the lab and field by athletes and people who just work out. Because cheribundi™ is all-natural and not from concentrate, it's a feel-better and live-healthier addition to your lifestyle."

I received a sample pack with samples of their a)Tru Cherry - which  offers 50 cherries, 2 servings of fruit and an abundance of antioxidants and nutrients(source: cheribundi.com)

b)Skinny Cherry - which offers 40 cherries, 90 calories and all-natural Stevia for sweetening(source: cheribundi.com)

and,
c)Whey Cherry - which offers 45 cherries, and 8 grams of whey protein, a powerful ratio of nutrients, carbs and protein.(source: cheribundi.com)

Verdict of taste-test of the cherry juice - all three cherry juice varieties were very, very flavorful and this juice was especially tasty, since it did not have the overpowering sweetness of  artificial sweeteners...definitely, a refreshing change from the usual juice varieties out there. For my chocolatey cherry cake recipe, I used the Whey Cherry...since I felt it struck a good balance of tartness, cherry content and sweetness.

Do hop on over to the Cheribundi website to find out more about their distinctive cherry juice varieties and to find out more about the many health benefits of cherry juice.

My family loved this light, flavorful and intensely chocolatey cherry cake...very different from the usual choc cake due to the addition of the cherry juice... yet the addition of the fruit juice did not detract from the chocolatey flavor of the cake...all in all, a recipe I will definitely try again with enthusiasm!

RECIPE FOR EGGLESS CHOCOLATEY CHERRY CAKE(using cherry juice from Cheribundi)
Prep/cook time: 45mins-55mins
Ingredients:
2 cups All purpose flour
2/3 cup unsweetened cocoa powder (I used Ghirardelli unsweetened dark cocoa powder)
1/3 cup Cherry Juice ( I used Whey Cherry Juice from Cheribundi)
2/3 cup Sugar
1/2 cup Thick Yoghurt
1/4 cup cherry preserves(or any other mixed fruit jam)
1/3cup melted Chocolate chips ( I used Nestle semi-sweet choc morsels)
1/3cup cooking oil( of course, you could use butter too instead of oil)
1 tsp pure vanilla extract
2tbsp Flax seed meal
6tbsp warm water
1tsp Baking powder
1tsp baking soda
Garnish: fresh cherries or choc chips or nuts

Method:
Preheat the oven at 350F.

Mix the flaxseed meal with the warm water and set aside for 5 - 10 mins.

Mix the liquid ingredients including cherry preserves(or any other fruit preserve of your liking) and melted choc chips in a large bowl..whisk everything well

Mix the dry ingredients in another bowl.

Add the flaxseed paste and the other liquid ingredients with the dry ingredients, a little at a time and whisk  (by hand or using blender)until well combined into a thick batter

Grease the cake mould and pour the cake batter into it.

Bake in the middle rack of the oven for 30 - 35 minutes or until a toothpick inserted into the middle of the cake comes out clean.

When the cake cools down, you could glaze the top of cake with melted chocolate and garnish with cherries or nuts or any other garnish of your liking.

Note: This cake stays fresh for upto a week in the refigerator.

Version with eggs: You could substitute the flaxseed paste with 2 large eggs and whisk that with the other liquid ingredients.

Tuesday, May 4, 2010

Sweet and Wholesome Indulgences as Thank You! Updated...

Warning!!!! This entire week is going to be exceedingly sweet and indulgent because I have many thanks to give...in the past few months, I have been receiving many Awards from my wonderful fellow bloggers that I have not yet accepted...I could not think of appropriate dishes to offer as treats and thanks to my fellow bloggers...now...I think I do!!! So, here we go...I warn you that the next few posts may be exceedingly sweet!!! I have always been addicted to cacao...look at my posts for molten chocolate lava cake or chocolatey nutella cookies... so what else but chocolate comes to my mind, when I pick treats to share with my blogger pals!!!

But, you know it...always wholesome with healthful elements...like these beautiful yet truly non-fat energy bars/squares!!! After trying these, I might totally avoid the store-bought energy and nut bars...Oh by the way,  dont say I didnt warn you - these are extrrrrremely addictive.
Recipe for Chocolatey Fruit and Oat Squares :
Servings: 16 pieces(could vary depending on prefered size of bars)

Prep time: 15-20 mins
Cook time: 35-40 mins
Ingredients:
1/3 cup rolled oats(I used the old-fashioned kind)
1/3 cup (45 grams) all purpose flour
1/8 teaspoon baking soda
1/8 teaspoon baking powder
1/4 teaspoon salt
1/3 cup light brown sugar
1 cup crushed nuts(pistachio, walnut, pecans, hazelnuts, and/or almonds)
1 cup dried fruits- apricots/cherries/cranberries/dates/figs and/or prunes (pits
removed and cut into quarters)...I used a mixture of dried fruits
1/2 cup chopped semi-sweet chocolate (I used Nestle's choc morsels)
1 large egg
1/2 teaspoon pure vanilla extract

Method:
Preheat oven to 325 degrees F (160 degrees C) and place the rack in the center of the oven. Have ready an 8 x 8 inch (20 x 20 cm) square baking pan that has been lined across the bottom and up the two opposite sides with aluminum foil. Set aside.

In a large bowl, whisk together the oats, flour, baking soda, baking powder  and salt. Stir in the brown sugar, walnuts, chocolate and dried fruit.

Use your fingers to make sure that all the fruit and nuts have been coated with the oats/flour mixture.

In a separate bowl, beat (with a wire whisk or hand mixer) the egg and vanilla until light colored and thick (this will take a couple of  minutes).

Add the egg mixture to the fruit and nut mixture and mix until all the fruit and nut pieces are coated with the batter. Spread into the prepared pan, pressing to even it out.

Bake for about 35 to 40 minutes, or until the batter is golden brown and has pulled away from the sides of the pan. You could drizzle some melted chocolate over the bar and then let cool.

When cooled, lift the bar from the pan by the edges of the aluminum foil. Use a sharp knife to cut into 16 squares.

Can be stored for about 10 days at room temperature or longer if refrigerated. Makes about 16  squares.

Now, coming to my beautiful Awards: Here are some wonderful awards from some of my greaaaat blogger pals: Priya of Priya's Recipes, Nisha of Nisha's KitchenJay of Tasty Appetite and Priya Mitharwal of Mharo Rajasthan...A BIG THANK YOU TO ALL THESE WONDERFUL BLOGGERS...YOU MADE MY DAY!!!

Update: Let me also mention that these awards were also showered on me by Jyoti of Panchpakwan, whose blog features not only recipes from all over the world...but specially, recipes from Karnataka and Maharashtra regions of India.

I would like to share these awards with all my blogger friends...I appreciate all of you and the wonderful efforts you put in every day TO MAKE & PRESENT the most awesome food...do feel free to accept these awards!!!

THERE ARE MORE AWARDS TO COME...MORE LATER!!!

As part of the rules for these awards I need to mention 5 of my favorite posts...which I will, in the next post...

Friday, April 30, 2010

Variety, Variety, Variety...Yummies from Blogosphere

The endless variety that one finds in Indian food never fails to amaze me...as a child growing up in India, our family lived in different parts of the country, made friends among people of different communities and of course, had the good fortune to taste and relish food from various states in India...yet even to this day, when I am blog-hopping, I visit a blog which presents a new dish which I have not yet tasted or tried to make(sometimes, have not even heard of it!)

"Muthias" belong to that "not yet tasted or tried to make' category for me...it is a savory dish from the western Indian state of Gujarat. It is a steamed dumpling(sometimes, fried too) that is vegan...extremely healthy since it requires very little fat and is made by combining some nutritious grains and lentils.

When I found recipes of this dish on the net...of course, the first stumbling block that I faced is that...there was way too much variety when it came to the recipes...each recipe called for a different mixture of grains/lentils...some required chickpea flour, while others required a combination of wheat flour, semolina and chickpea flour, some others required millet flour...the list goes on...that I essentially think, is what boggles the mind of the beginner when it comes to Indian cooking...the endless variety...BUT, variety can be a good thing...I find that the best way to  ease the confusion, is to go with recipes that call for familiar ingredients and that is what I did...of course, the recipe of one of our wonderful blogger friends came to the rescue!!!

Here, I have used a recipe for Muthias that came from the wonderful blog Simply.Food...authored by Nayna, who has a variety of wonderful and simple Gujarati recipes alongwith other cuisines in her space.

The verdict from my family was that this savory and tangy dish is a definite keeper plus it reminded us all of our own Southern Indian idlis(pancakes). Thanks, Nayna for this wonderful recipe that has appealed to me and my family in a big way...

Links: Original Recipe for Muthias as posted on Simply Indian Food

Notes/Variations: I have used bajra(millet flour) as called for in the original recipe but one could substitute that with fine semolina in the recipe...I saw quite a few recipes that used semolina...also, for the veggies, I used a mixture of fenugreek leaves and spinach leaves in place of the bottlegourd in the original recipe. Also, for the seasonings, I added some caro seeds(ajwain), some fresh cilantro leaves and lemon juice apart from the mustard, sesame seeds and dried red chillies.

I served this dish with a tangy, chutney filled with herbs and nuts, though it would taste good with any chutney/dipping sauce
Recipe for Muthias(as posted on Simply.Food by Nayna)
Serves: 3 - 4 people(I got 12 pieces)
Prep/cook time: 30 - 40 mins.
Ingredients:

8 oz wheat flour
2 oz besan flour(chickpea flour)
2 oz bajra flour(millet flour)
2 oz fresh chopped methi leaves(fenugreek leaves)
2 medium courgettes grated with skin on(bottlegourd)
1 teaspoon ginger puree
4 green chillies finely chopped
2 teaspoons salt
1 teaspon turmeric powder
1/2 teaspoon chilli powder
1 teaspoon eno salts
1 tablespoon oil
For tadka/seasoning:
1 tablespoon sesame seeds
2 tablespoons oil
1/2 teaspoon mustard seeds
2 dry red chillies

Method:
1. Add wheat flour,besan and bajra flour to grated courgettes.
2.Add the ginger, chillies,salt,turmeric and chilli powder oil and eno salts.
3.Make a dough using 1-2 tablespoons water.
4. Form small 2 inch sausage shapes (muthia shapes) and place in steamer .
5.Steam for 25-30 minutes and allow to cool
6.When cool slice the muthia into 1 cm rounds.
7. Heat the oil for tadka in a wok, when hot add the mustard seeds, red chilli and the sesame seeds.
8. Add the sliced muthia and stir fry till slightly crispy and takes colours.
9. Transfer to serving dish

Tuesday, April 27, 2010

Recreation of a Childhood Favorite...

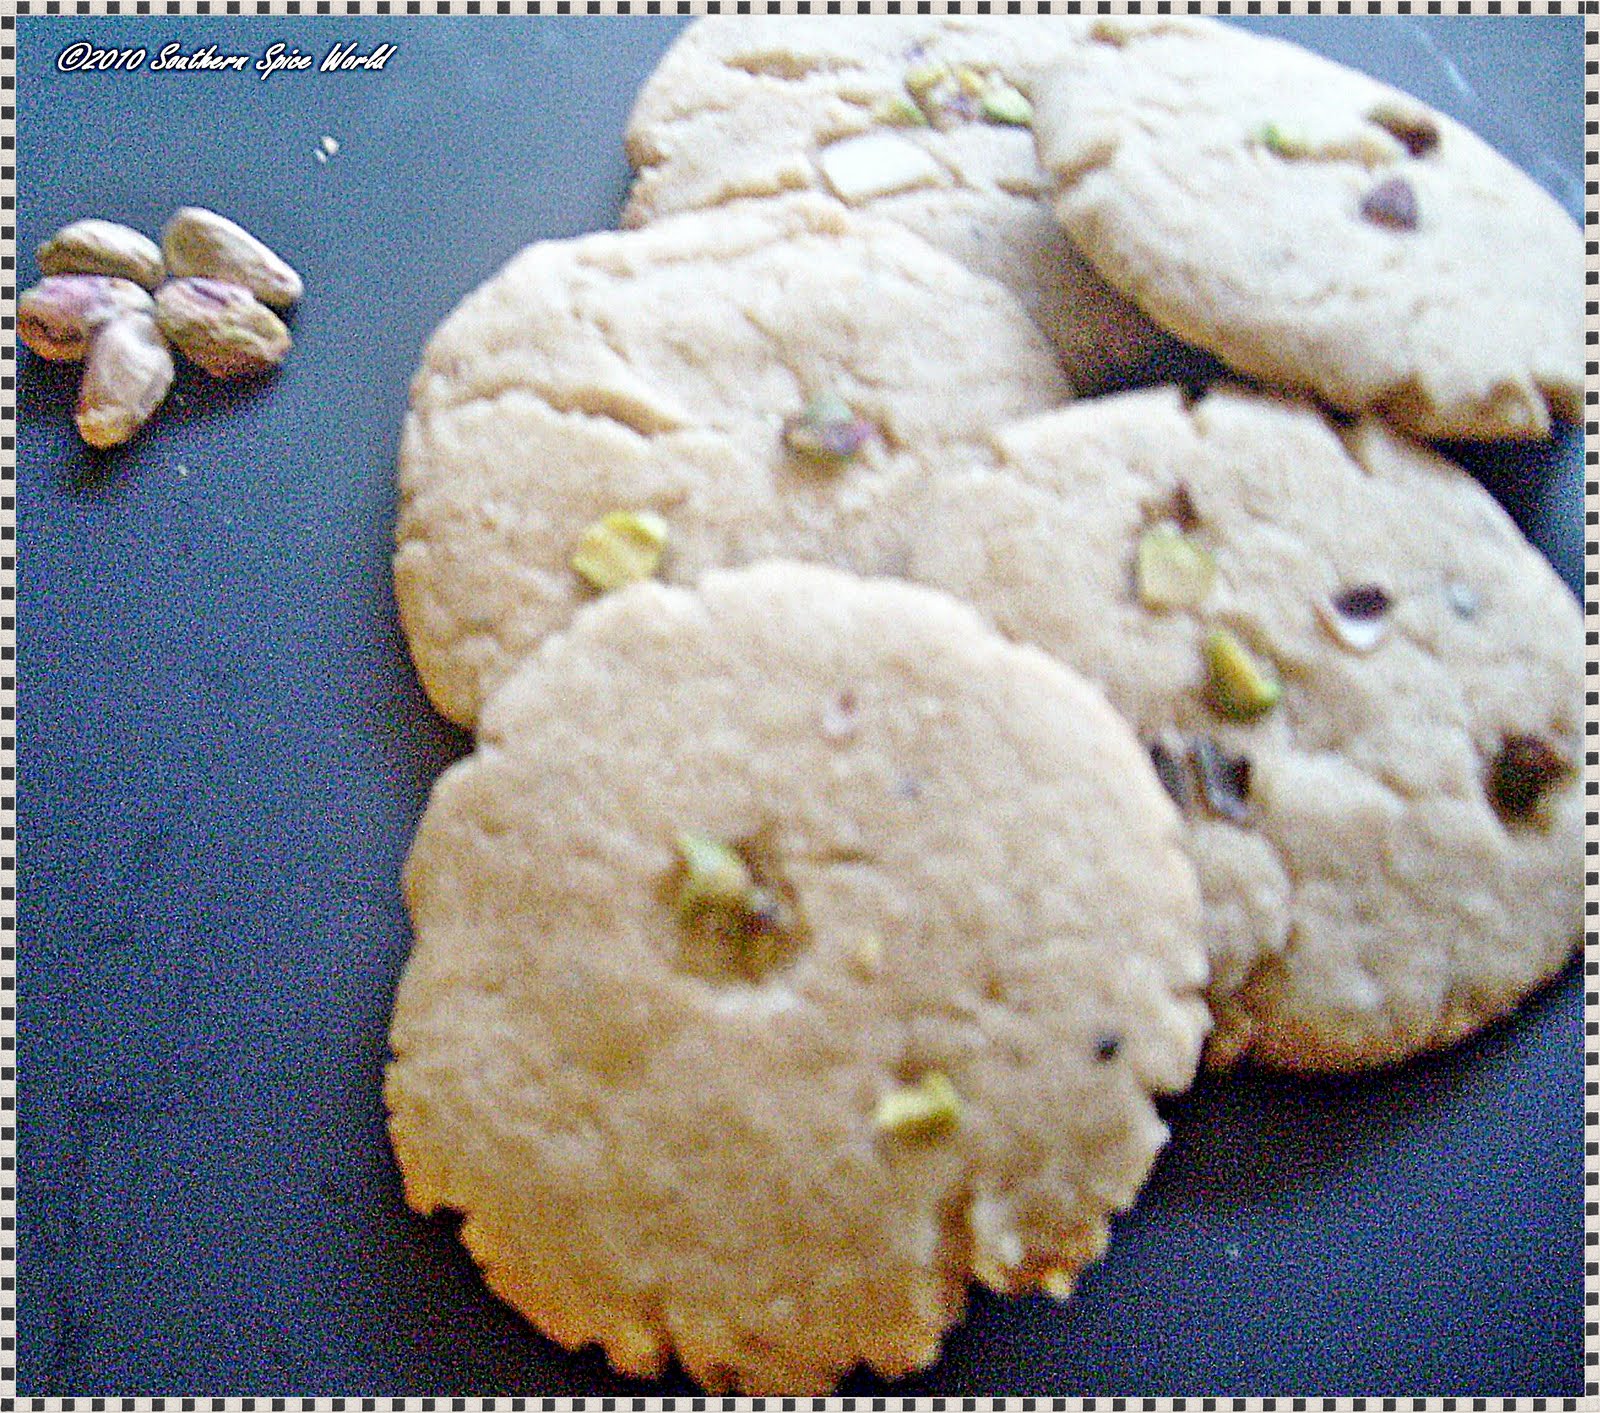
One of the biggest thrills I get from food blogging is the rediscovery of long-forgotten childhood favorites...I am sure a lot of us have these memories of foods tasted long ago, which we cherish for many years, either because of the unique nature/taste of that food or because of an event or circumstance associated with that food...I have such memories associated with an Indian cookie called "Nankhatai" because a lady, one of our neighbors, while we lived in Bombay, India(back when I was a kid), would bake it often and pass it onto us. At that time, we did not own an oven(baking was not a very commonly used cooking technique back then, for us)...so it was enthralling to taste home-baked goodies, hot off the oven. Plus, it was some cookie...light and crisp, almost airy and not overly sweet with a hint of nuts and cardamom...I truly loved it and I relished it many times back then...in fact, we shamelessly encouraged our neighbor aunty to make it more often!!!

After, we left Bombay and moved to Calcutta, it was forgotten and I probably never tasted it again..we had an oven at home then, still....until recently, when I was so thrilled to find recipes for it in various food websites. I was amazed to find the variety of ways to prepare this cookie...some recipes had all APFlour..some had a combination of APF and semolina flour and yet others had a combination of APF, semolina and chickpea flour...whew!!!

So, what is this "Nankhatai"? It is a shortbread-like cookie flavored with cardamom or nutmeg, a medley of nuts and was originally prepared using eggs and flour by the Parsi population in India, though later on Indian Hindus popularised an eggless version. I found a detailed video on the vahrevah blog with many interesting variations on the recipe which is what I followed, though I did make some changes to it, notably by reducing the quantity of sugar needed and ended up with a crunchy, mildly-sweet yet flavorful end-product...just like I remembered it!!! Here is to finding many more forgotten food faves...I know my family enthusiastically agrees with that thought...:))

Here is an interesting(read, detailed:)) history of this famous Nankhatai on the indiacurry website...in case you would like to know more about this delicacy(I did and I found more than I ever expected to know:)) This lovely, forgotten favorite goes to Priya's CWS - Cardamom Seeds event.

Recipe for Nankhatai:
Prep/cook time: 20- 25 mins.
servings: 14-16 pieces
Ingredients:
1 cup all purpose flour (plain flour or maida)
1/4 cup fine sooji or semolina
1/2 cup gram flour (besan)(optional) if used, increase sugar to 2/3 cup
Pinch of baking soda (a little less than 1/8 teaspoon)
1/2tsp baking powder
1/4 teaspoon green cardamom seeds coarsely powdered (ilaichi)
crushed pistachio, almonds for topping
few saffron strands
1/2 cup unsalted butter
1/3 cup sugar
1tsp yoghurt
Note: all ethnic ingredients are available at Asian/Indian grocery stores

Method:
preheat oven to 325 f

mix dry ingredients separately

mix wet ingredients well together

combine both...make soft dough ball...put in fridge for few mins...then shape into discs...press the mixture of almond-pistachio on each cookie

bake for 15 mins...will appear soft when removed from oven then will crisp up.
Related Posts with Thumbnails